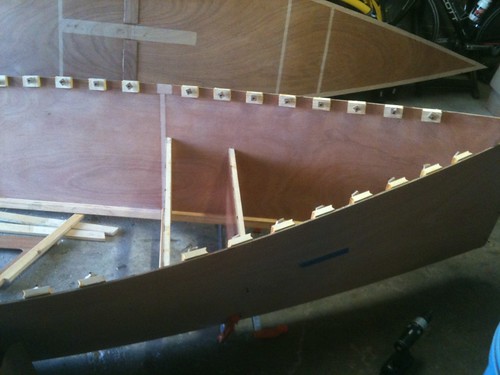
All good procrastination must come to an end sometime. For no particular reason, I decided today would be the day to go 3D with my hull. It took a couple of hours to clean and reorganize the garage first, but eventually I got down to the business of assembly. I finally got my son Ruben involved since bending the plywood sides into shape is not easily done single handed. I didn't take pictures of the process because I was too busy actually doing it and it took quite a bit of time and not a small amount of frustration. But we finally got the sides to meet with bulkhead #1 and I screwed the parts into place.
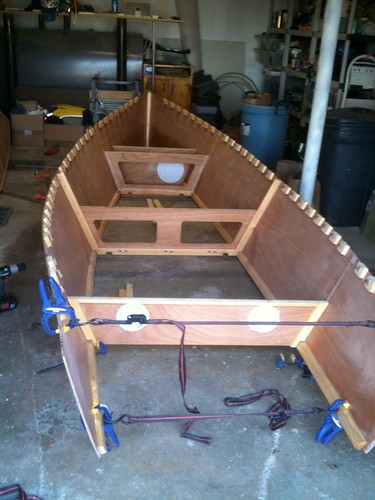
Step one (per the plans) is to attach both sides to the stem. The fun begins when trying to get the sides to meet with the first bulkhead. Eventually, we struck on a winning combination of two long bar clamps. Each clamp has about 4" of screw threads to work with so we would tighten one up, get another unadjusted one cinched up and then tighten it another four inches. As we got closer to our goal, the sides got more bent which means the clamps were trying to grip an angled surface and that's not what they like doing. Ruben did a great job of holding the clamps in place, keeping them from slipping off (although they did occasionally succeed). We found that it was helpful to run in a screw at the top corner of each side of the bulkhead. This prevented the panel from sliding around but allowed for pivoting it into the correct alignment. It was quite a challenge, but no cursing took place and we never gave up. Father and son prevailed over the material world and it was quite satisfying to accomplish the task. After that. the remaining bulkheads were much easier and my poor boy was able to get back to Call of Duty.
I used a technique described by other GIS builders online whereby clamps and straps combine to pull the two sides together. Think I should have done this up front at BHD 1, although my straps are not ratcheting and I think I would not have been able to apply sufficient force to get the job done that way. I recommend ratcheting straps to any GIS builders reading this.
The transom was also difficult to secure. I called Ruben back into action and we pushed and pulled and grunted and complained (but never resorted to profanity!) and eventually we got it screwed into position.
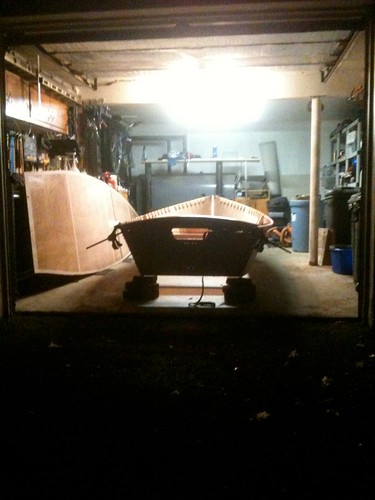
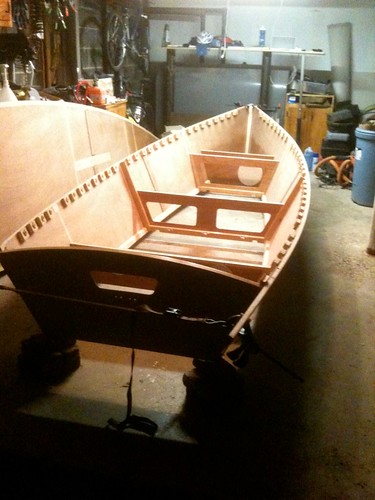
At this point it might be worthwhile to note that all this screwing is only temporary. Each of the bulkheads will be glued in place; this is only a "dry run." I will have to unscrew each of these parts, apply epoxy adhesive, replace the part and screw it down again. Once the pox has hardened, the screws come out for good. But before the glue can go on, the shape has to be fair and that is accomplished by fixing the gunwales into place. Without them, the shape is very wavy, quite ugly, and just a little disconcerting. It took a little coaxing to get the hull untwisted and I found that lifting the whole assembly off the ground with supports under just three points (because three point define a plane) was very helpful. I placed bricks under the corners of the transom and at the stem. Without them, the hull rests on it's lowest lines which are amidship at BHD 3. I highly recommend raising the hull before trying to get things aligned. I would now like to go on record as proclaiming that Michael Storer is quite a clever fellow. Once that gun'l gets clamped into place, the line of the hull takes its proper shape and all is right in the world.
My technique for clamping the gun'l in place was to use screws through the inwale spaces I has previously installed. Starting amidships at BHD 3, I clamped the gun'l over a two-foot section (one foot fore and aft of the bulkhead since that's the widest point in the curve) then drove the screws home. I then worked my way to the rear, shifting the clamps and pulling the gun'l up into place. My early work at marking the gun'l with the sheer line paid off today. Another technique I borrowed from my predecessors was to leave the gun'l overly long and extending a foot or more aft of the transom. This gives a place to pull the two sides together and it really works nicely. Again, I used the straps-and-clamps technique.
Things got a little interesting at the bow. I haven't decided exactly hoe I want to finish off the gun'ls up front, so I wanted to leave them as long as possible. My carpentry skills are not on par with Simon in Florida or George in England; I could not achieve the kind of point that they have. I'll end up putting a cap at the tip, probably the same hardwood used to cap the gun'ls.
That's about it for now. I should be gluing this baby together soon as long as it doesn't turn cold in the coming days.
Stay tuned...


No comments:
Post a Comment