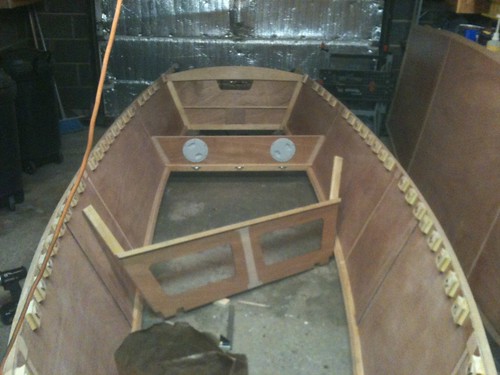
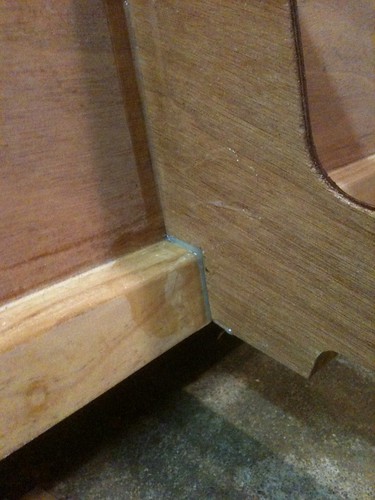
There's 3D, and there's 3D. My last post had the appearance of being 3d, but without the glue it was all just for looks. NOW, I can truly say I've gone 3D because I've glued the bulkheads in place and have glued the bottom on too.
I did a test of how well the proto hull came apart (partially) by unscrewing the stem and screwing it back together, then doing the same for BHD3. Once I was convinced that the whole thing wouldn't crumple, I mixed up some glue and started at BHD3.
I thought in went back into place perfectly, but days later I noticed a slight shift on one side such that the BHD is a touch unlevel. More importantly, the lower edge was lined up with the chines well enough that there would be no gap between the BHD and the bottom. Other builders have been less fortunate.
After BHD3, I proceeded to the stem. I only unscrewed one side at a time and it went back together nicely.
(Later, I filled the gap between the two chine logs with glue.)
I did one more part that evening, the transom. My logic was to release those panels that would allow the remainder of the hull to keep its shape. Once those three hardened, I then proceeded to the intermediate BHDs. It's a technique that deviates from the instructions somewhat but that worked well for me. I left the glue cure for a few days before taking the next step.


No comments:
Post a Comment